


Brow Code Professional New Zealand
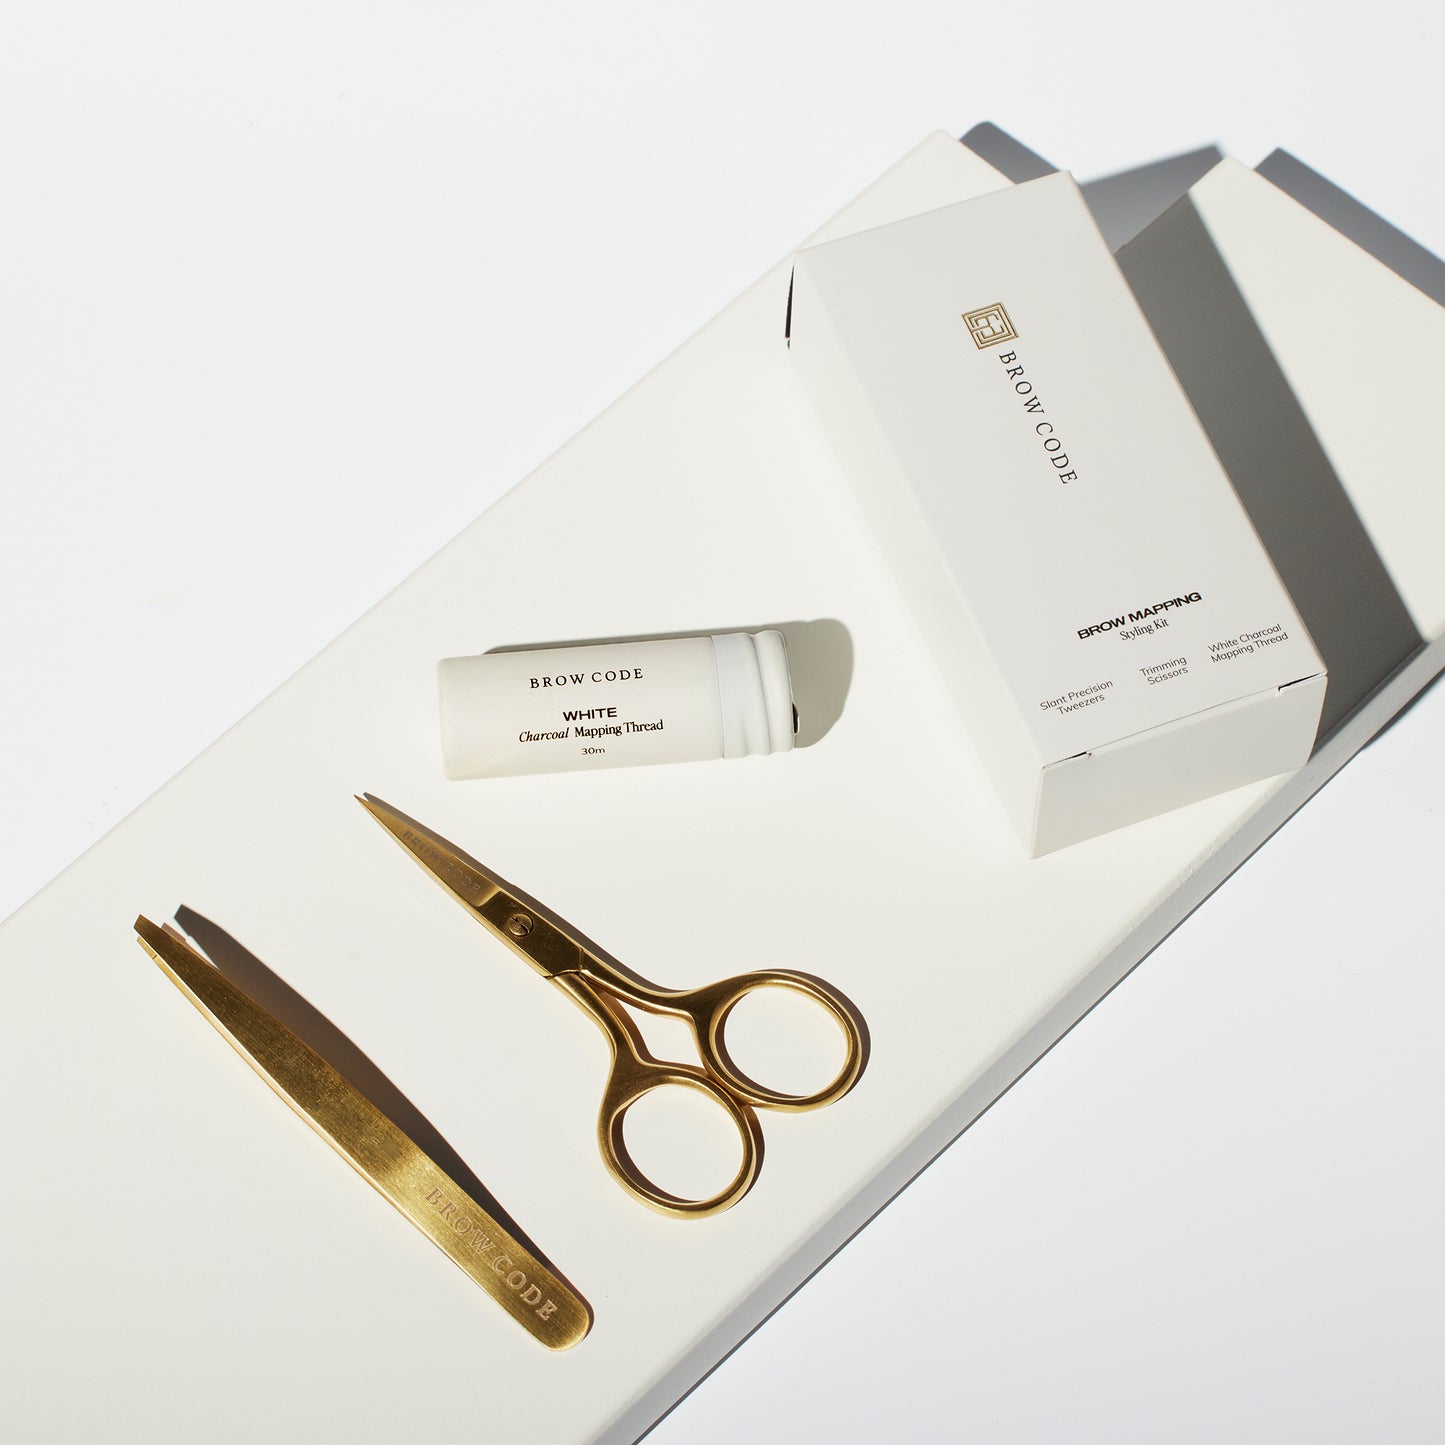
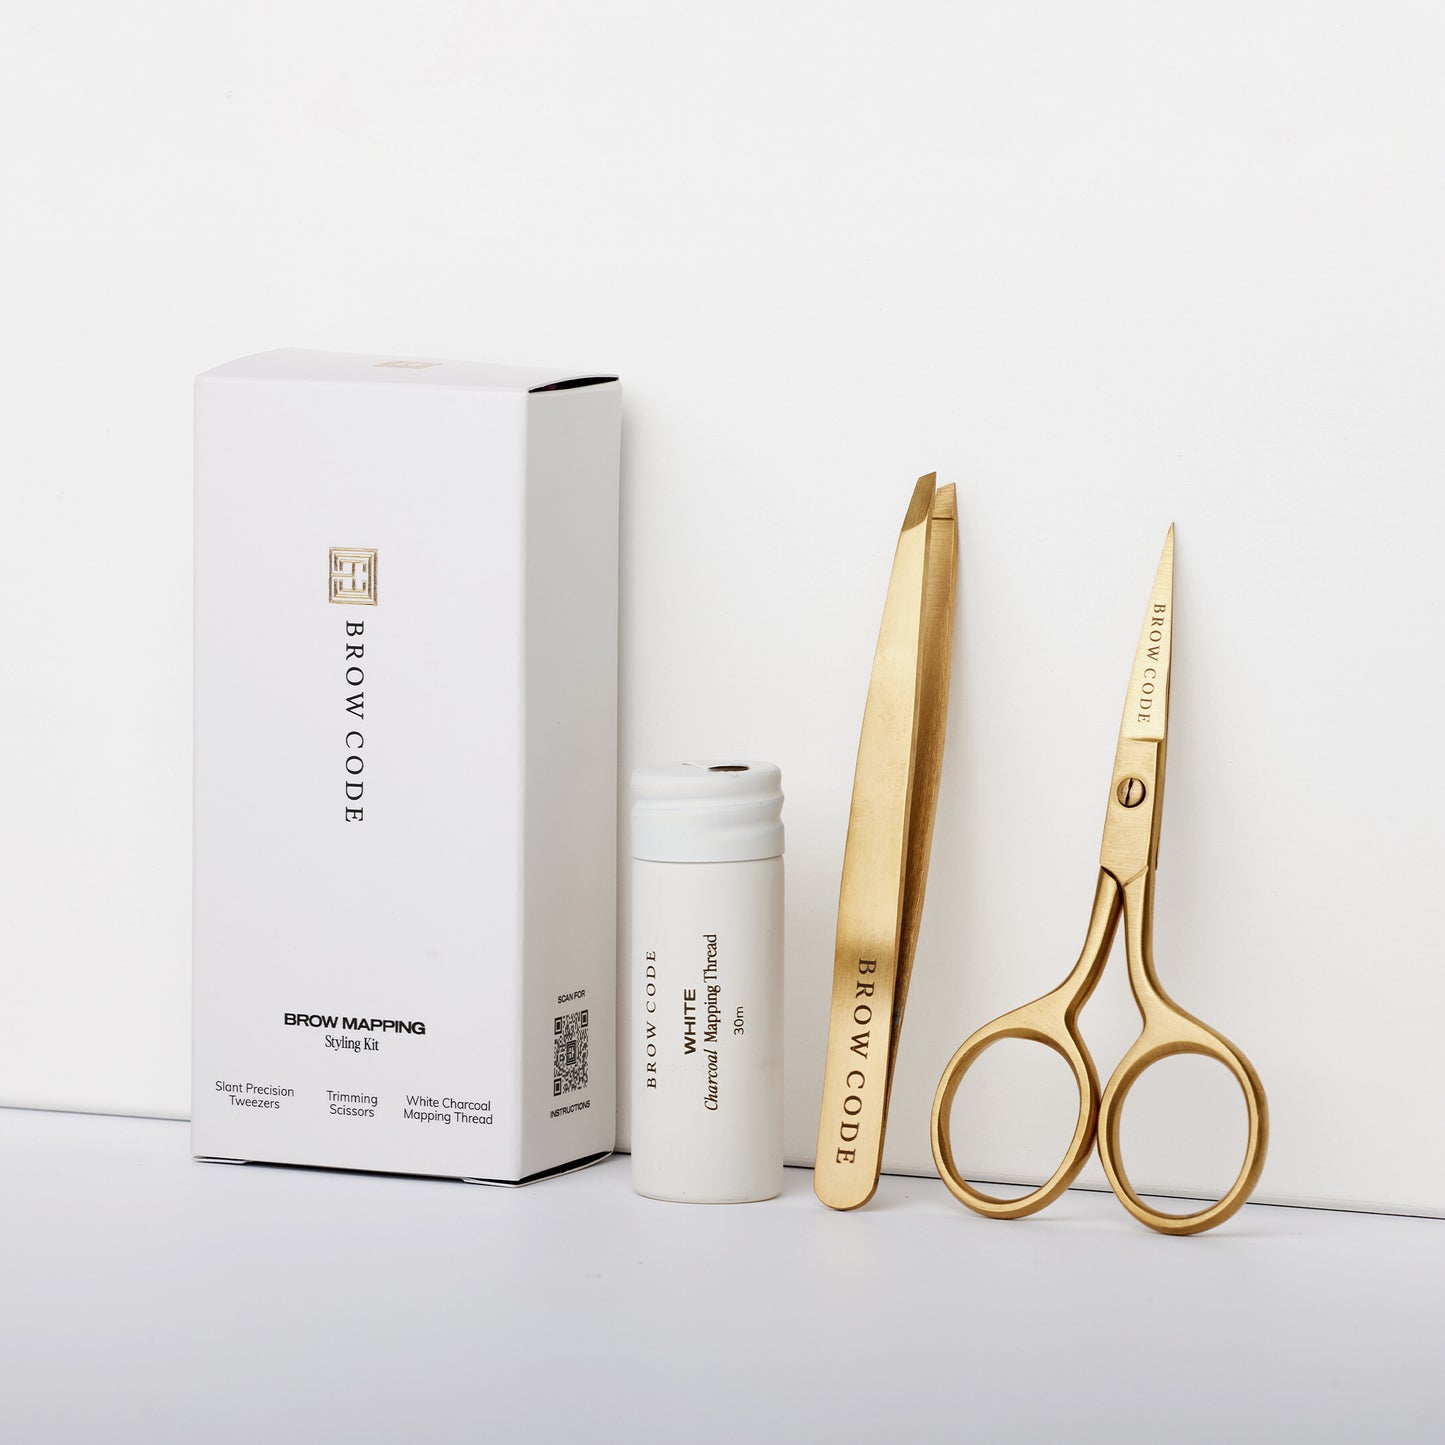
Brow Mapping Kit
Couldn't load pickup availability
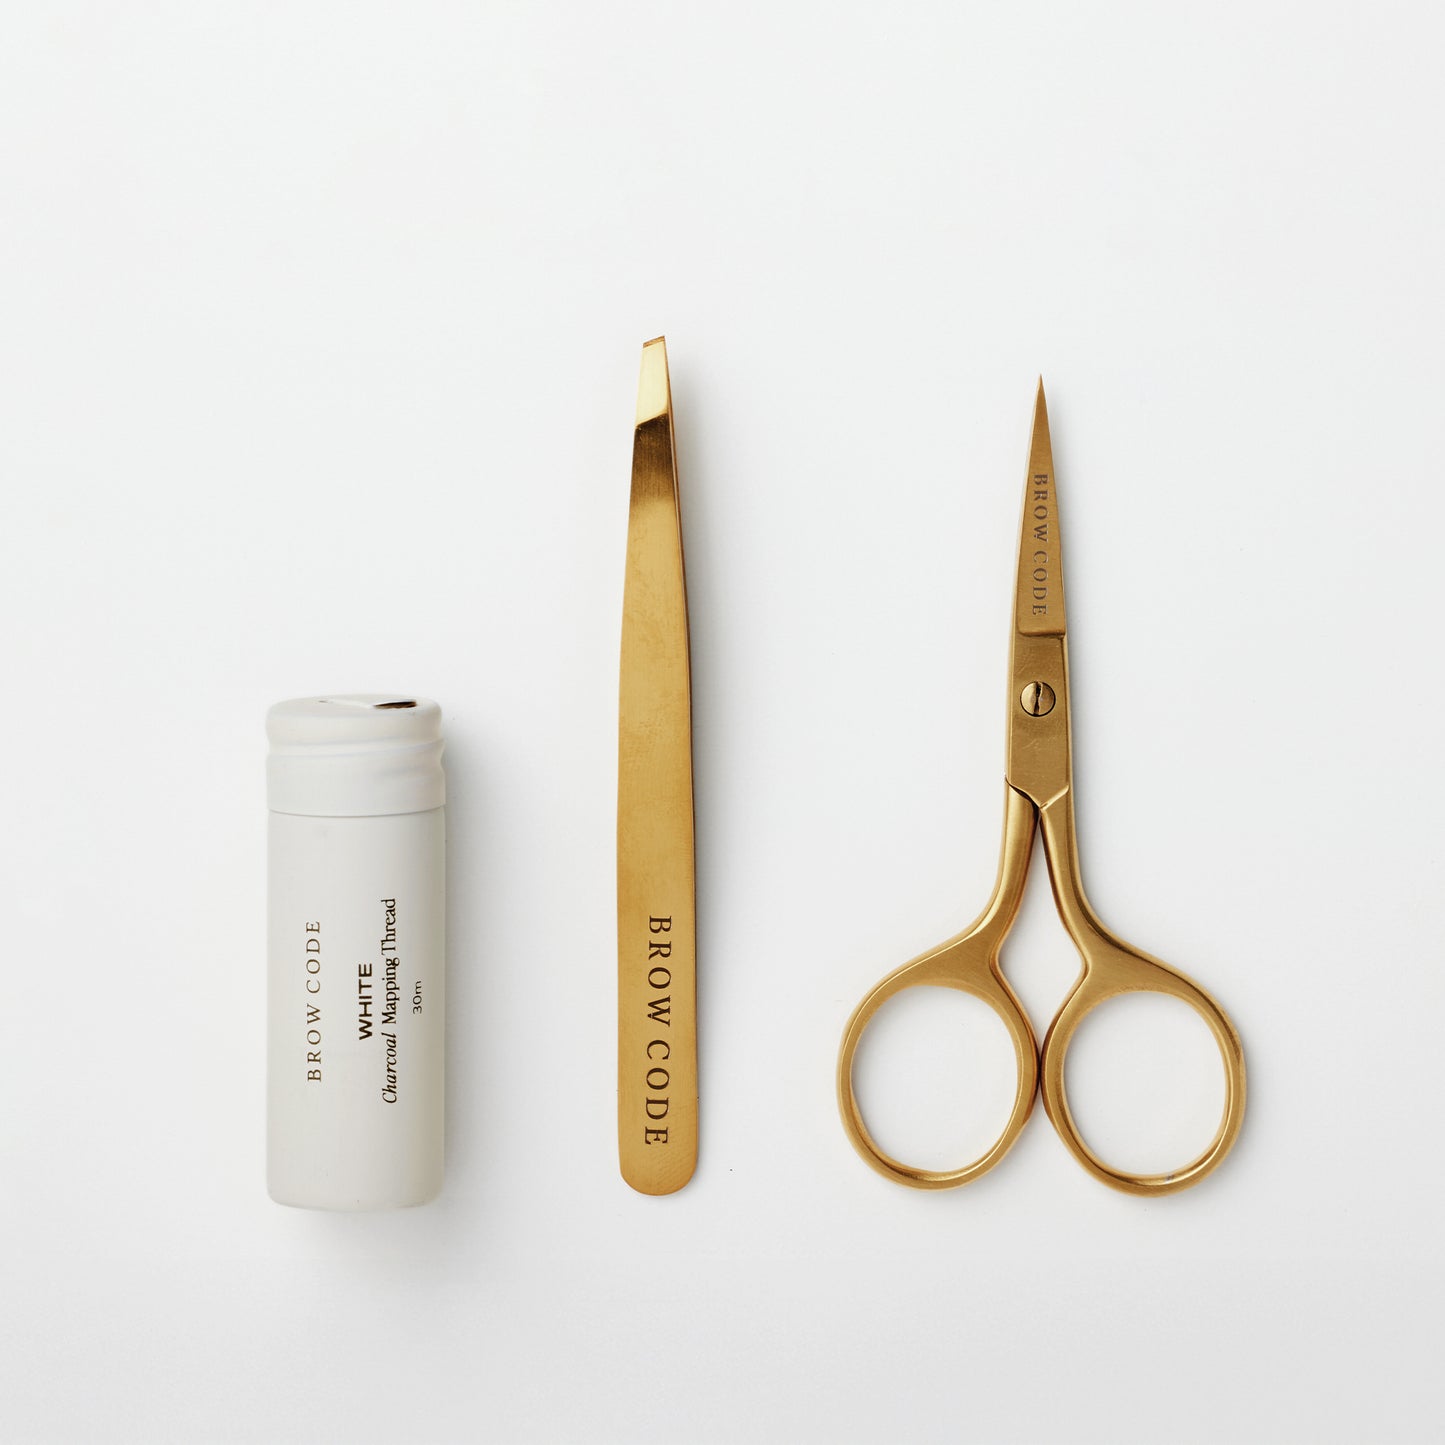
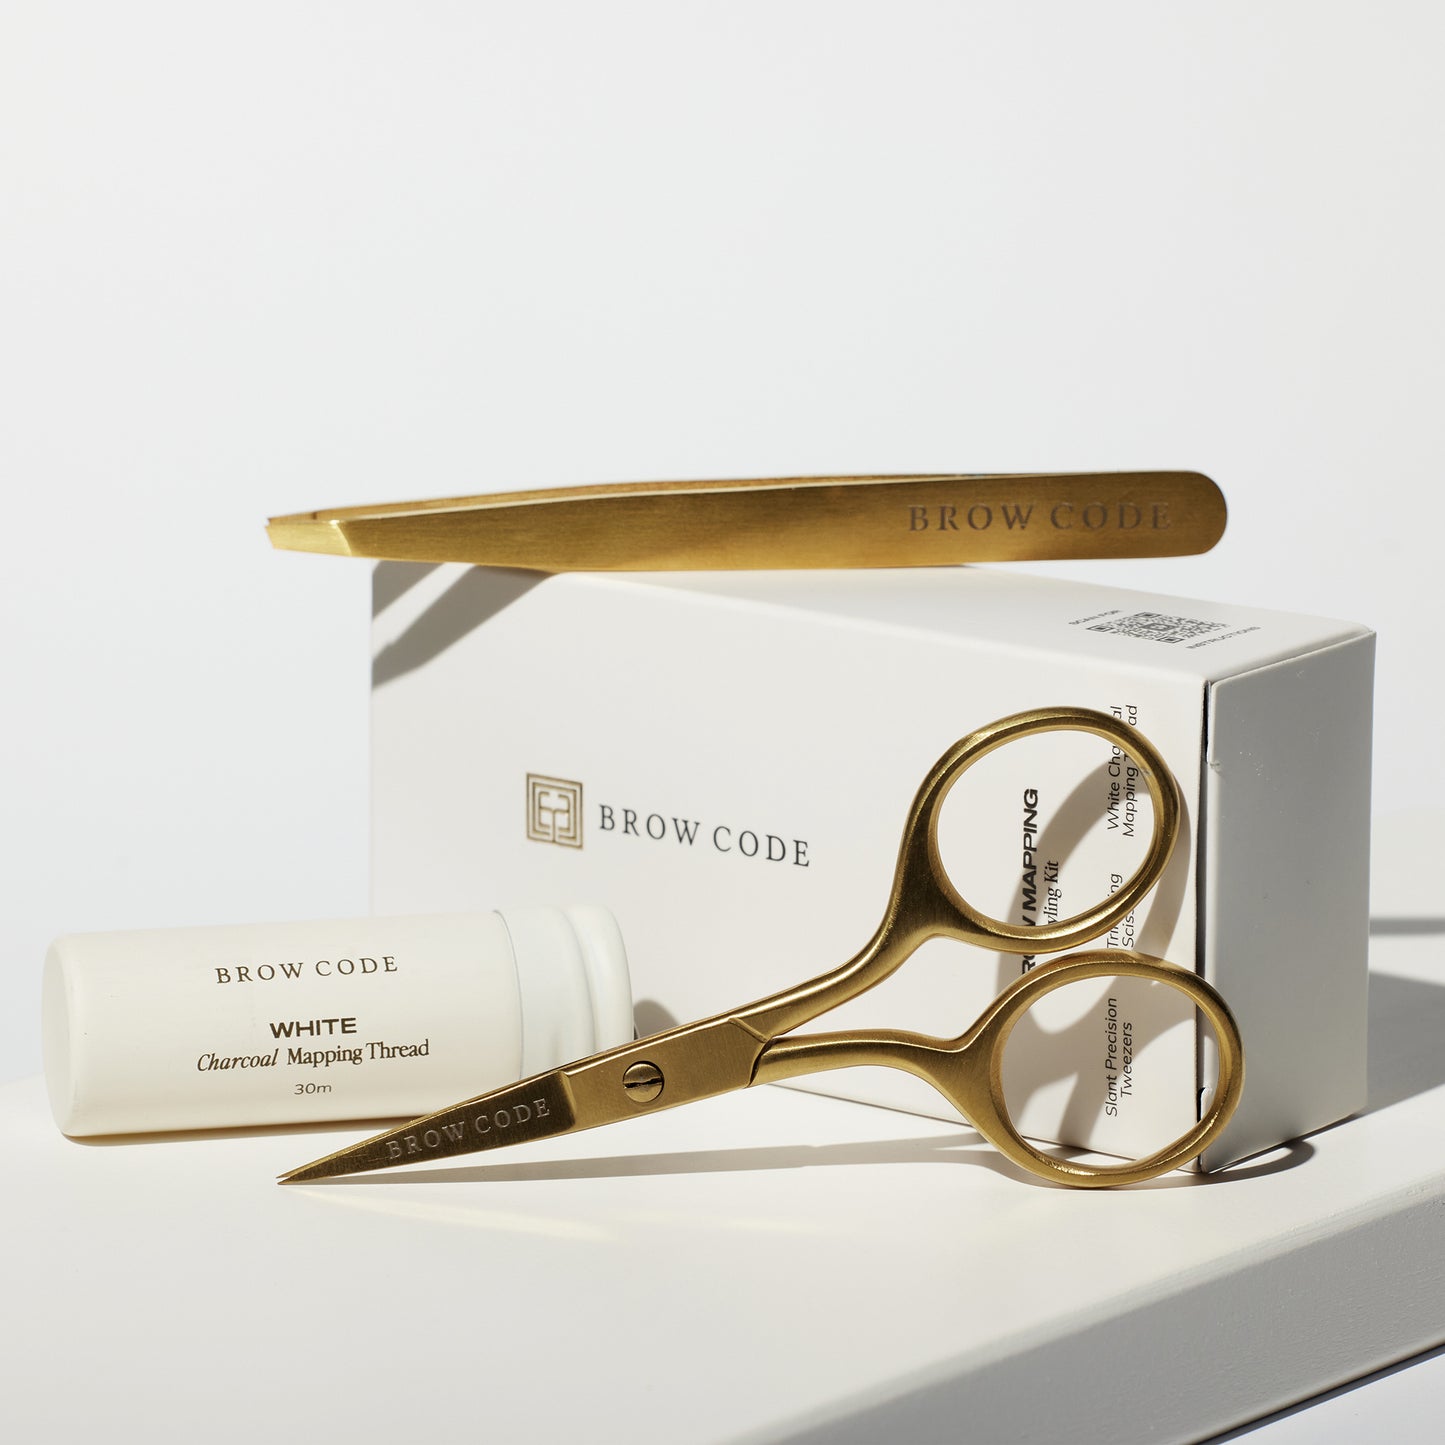
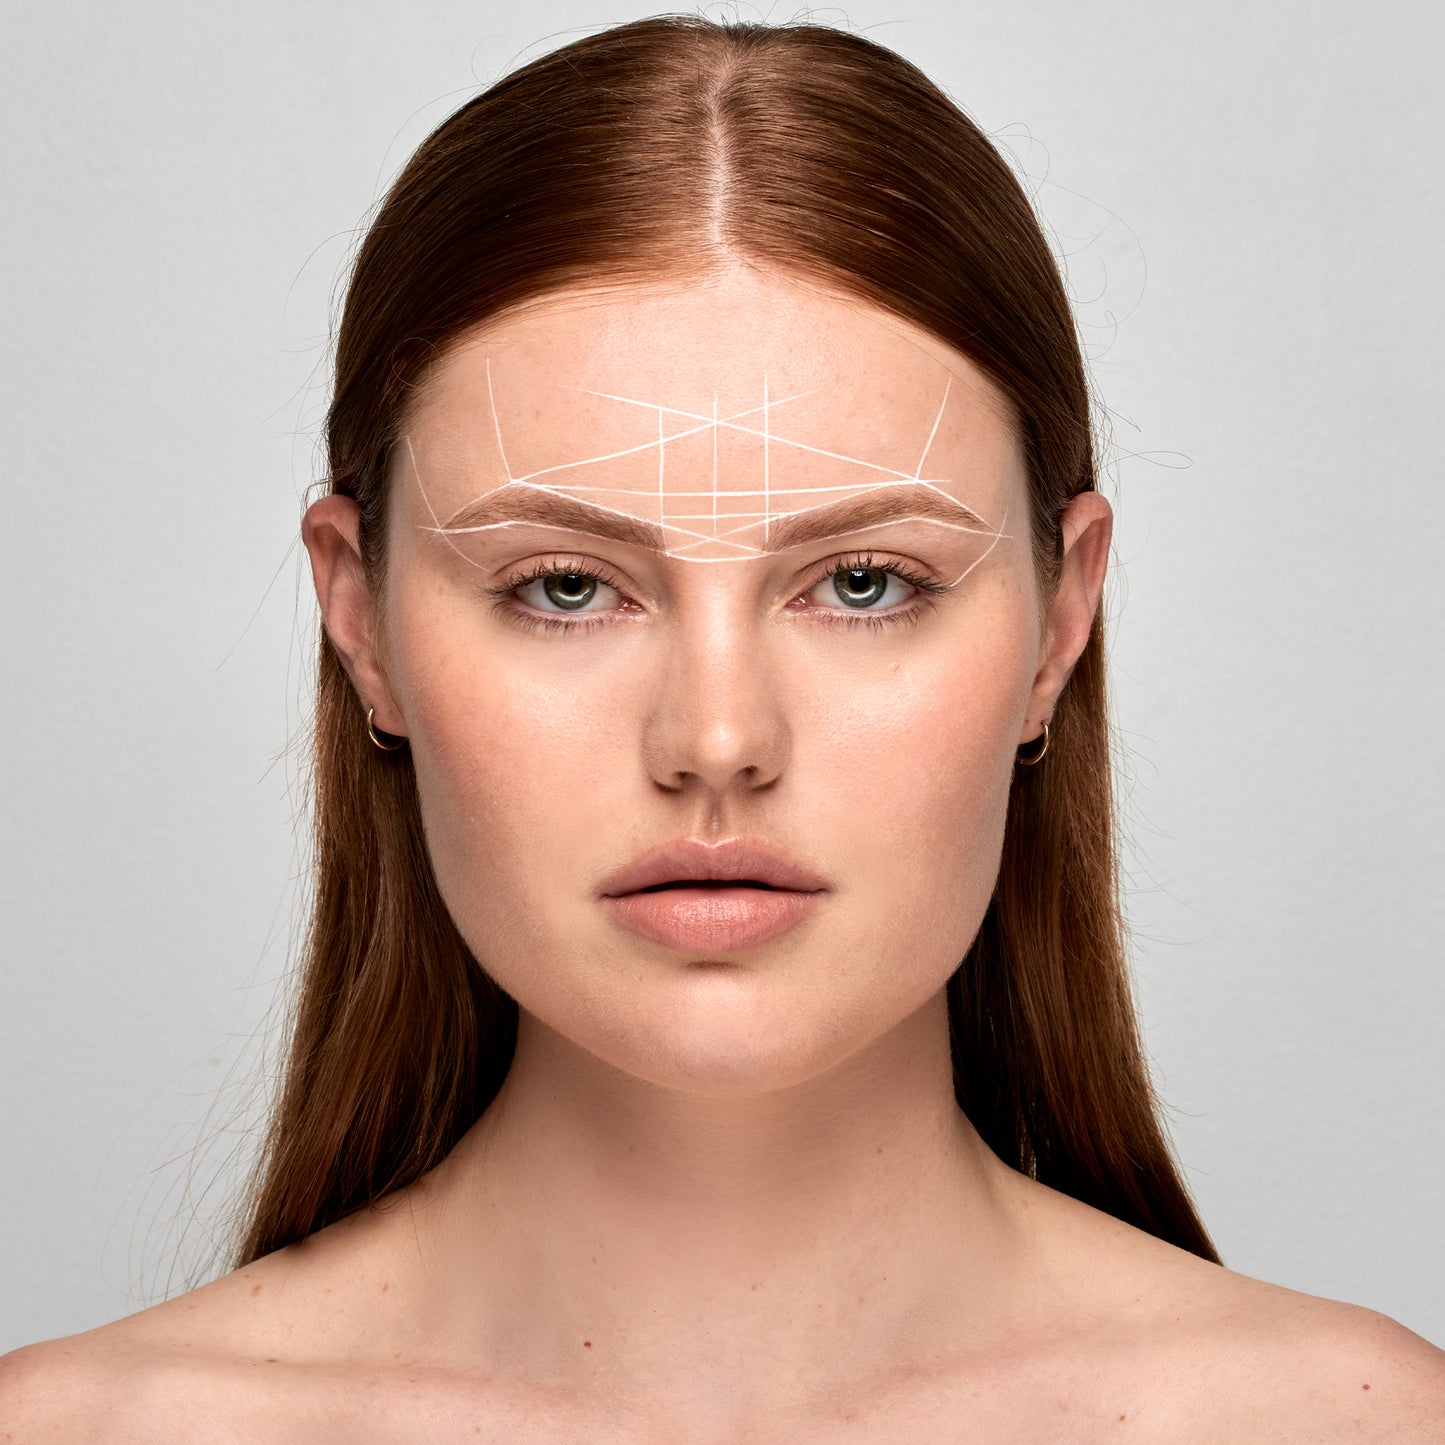
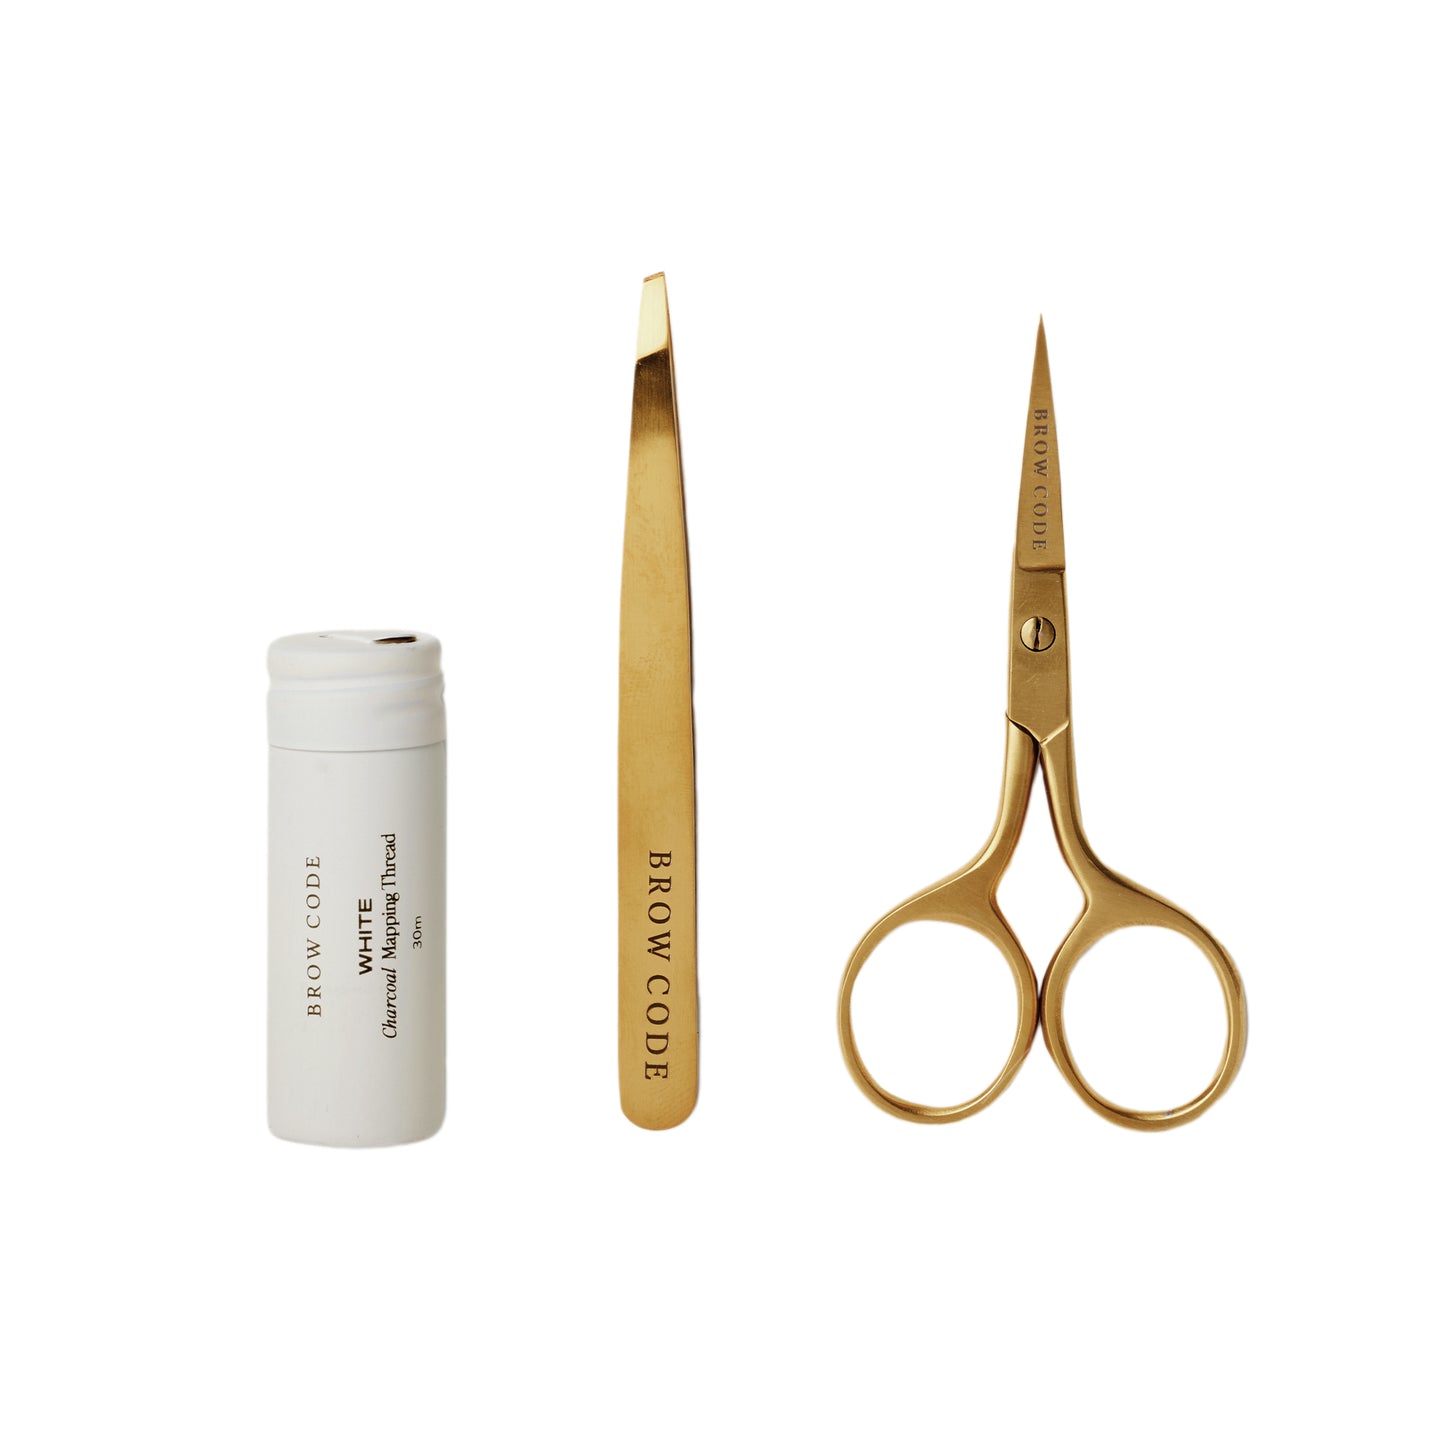
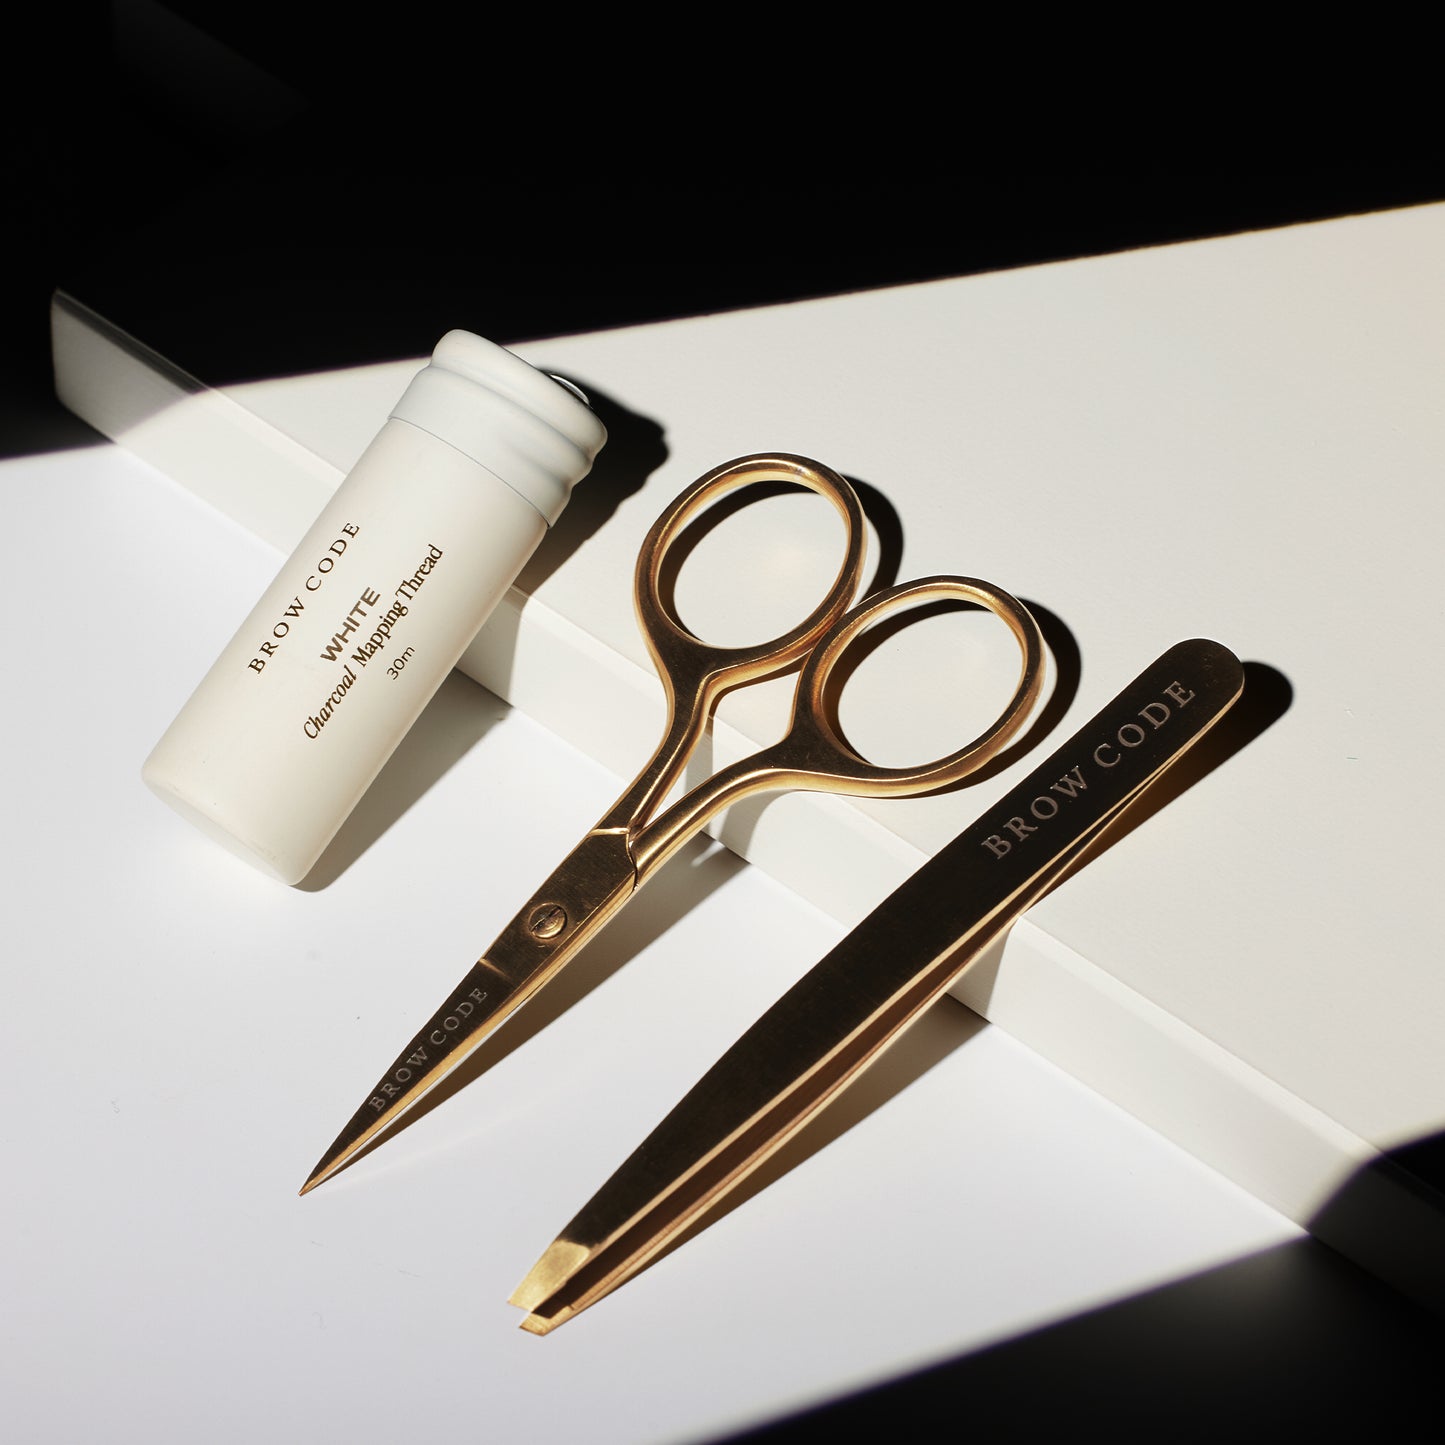
Create perfectly balanced, symmetrical brows with the Brow Code Brow Mapping Kit. This all-in-one kit includes White Charcoal Brow Mapping Thread, Slant Tweezers, and Trimming Scissors for shaping and defining. The pre-inked mapping thread delivers crisp, high-pigment lines to guide flawless symmetry, while the precision tweezers and sharp trimming scissors refine and perfect every detail.
- Vegan
- Cruelty-Free
- Activated Charcoal Pigment
- Highly Pigmented
- Sulphate-Free
- Paraben-Free
- Synthetic Fragrance-Free
- Ethically Sourced
Key features
Key features
Pre-Inked for Effortless Application – Infused with premium activated charcoal for smooth, high-visibility markings.
Ultra-Pigmented – Delivers bold, crisp lines for precision styling and shaping.
Fine & Flexible for Precision – Designed for ultimate control, ensuring sharp, accurate brow mapping.
User-Friendly & Mess-Free – Easy to handle for seamless, professional application.
Enhances Symmetry & Definition – Perfect for creating balanced, flawless brows with confidence.
Directions
PAIRS WELL WITH
-
Sculpt & Seal Reusable Brow Wrap
Reusable brow wrap for lamination & lightening
Rated 5.0 out of 5 stars18 Reviews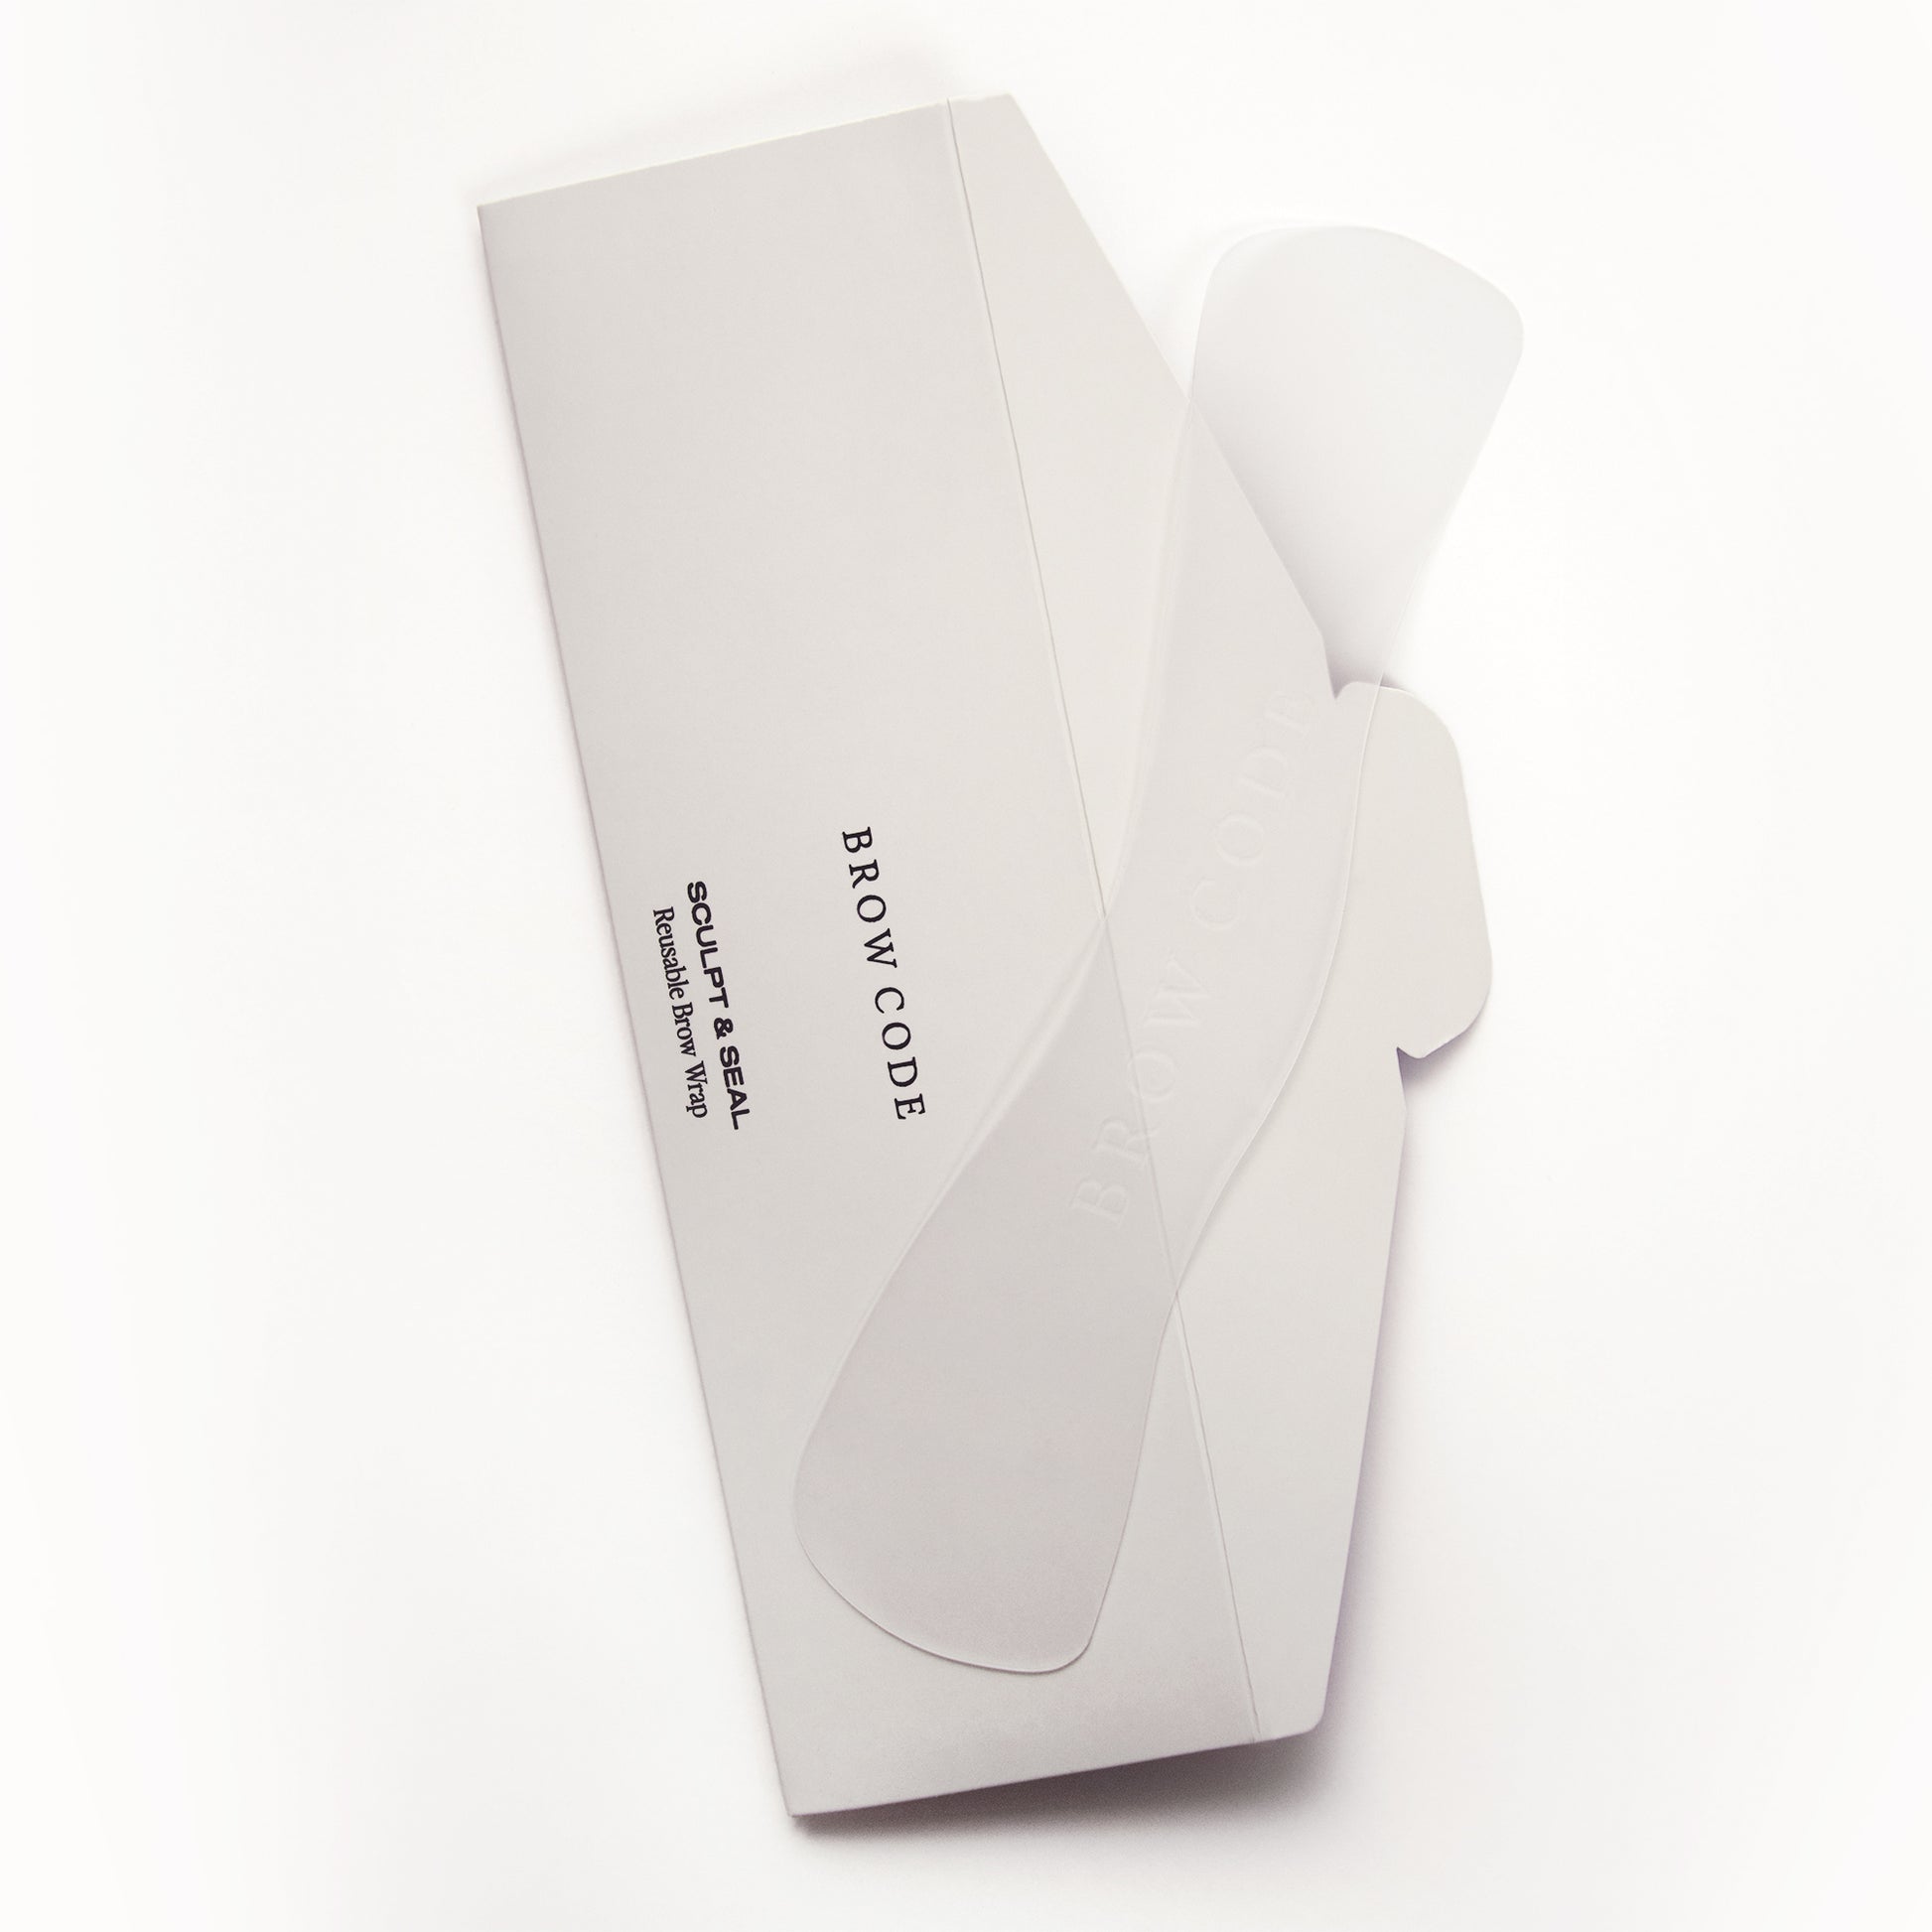
-
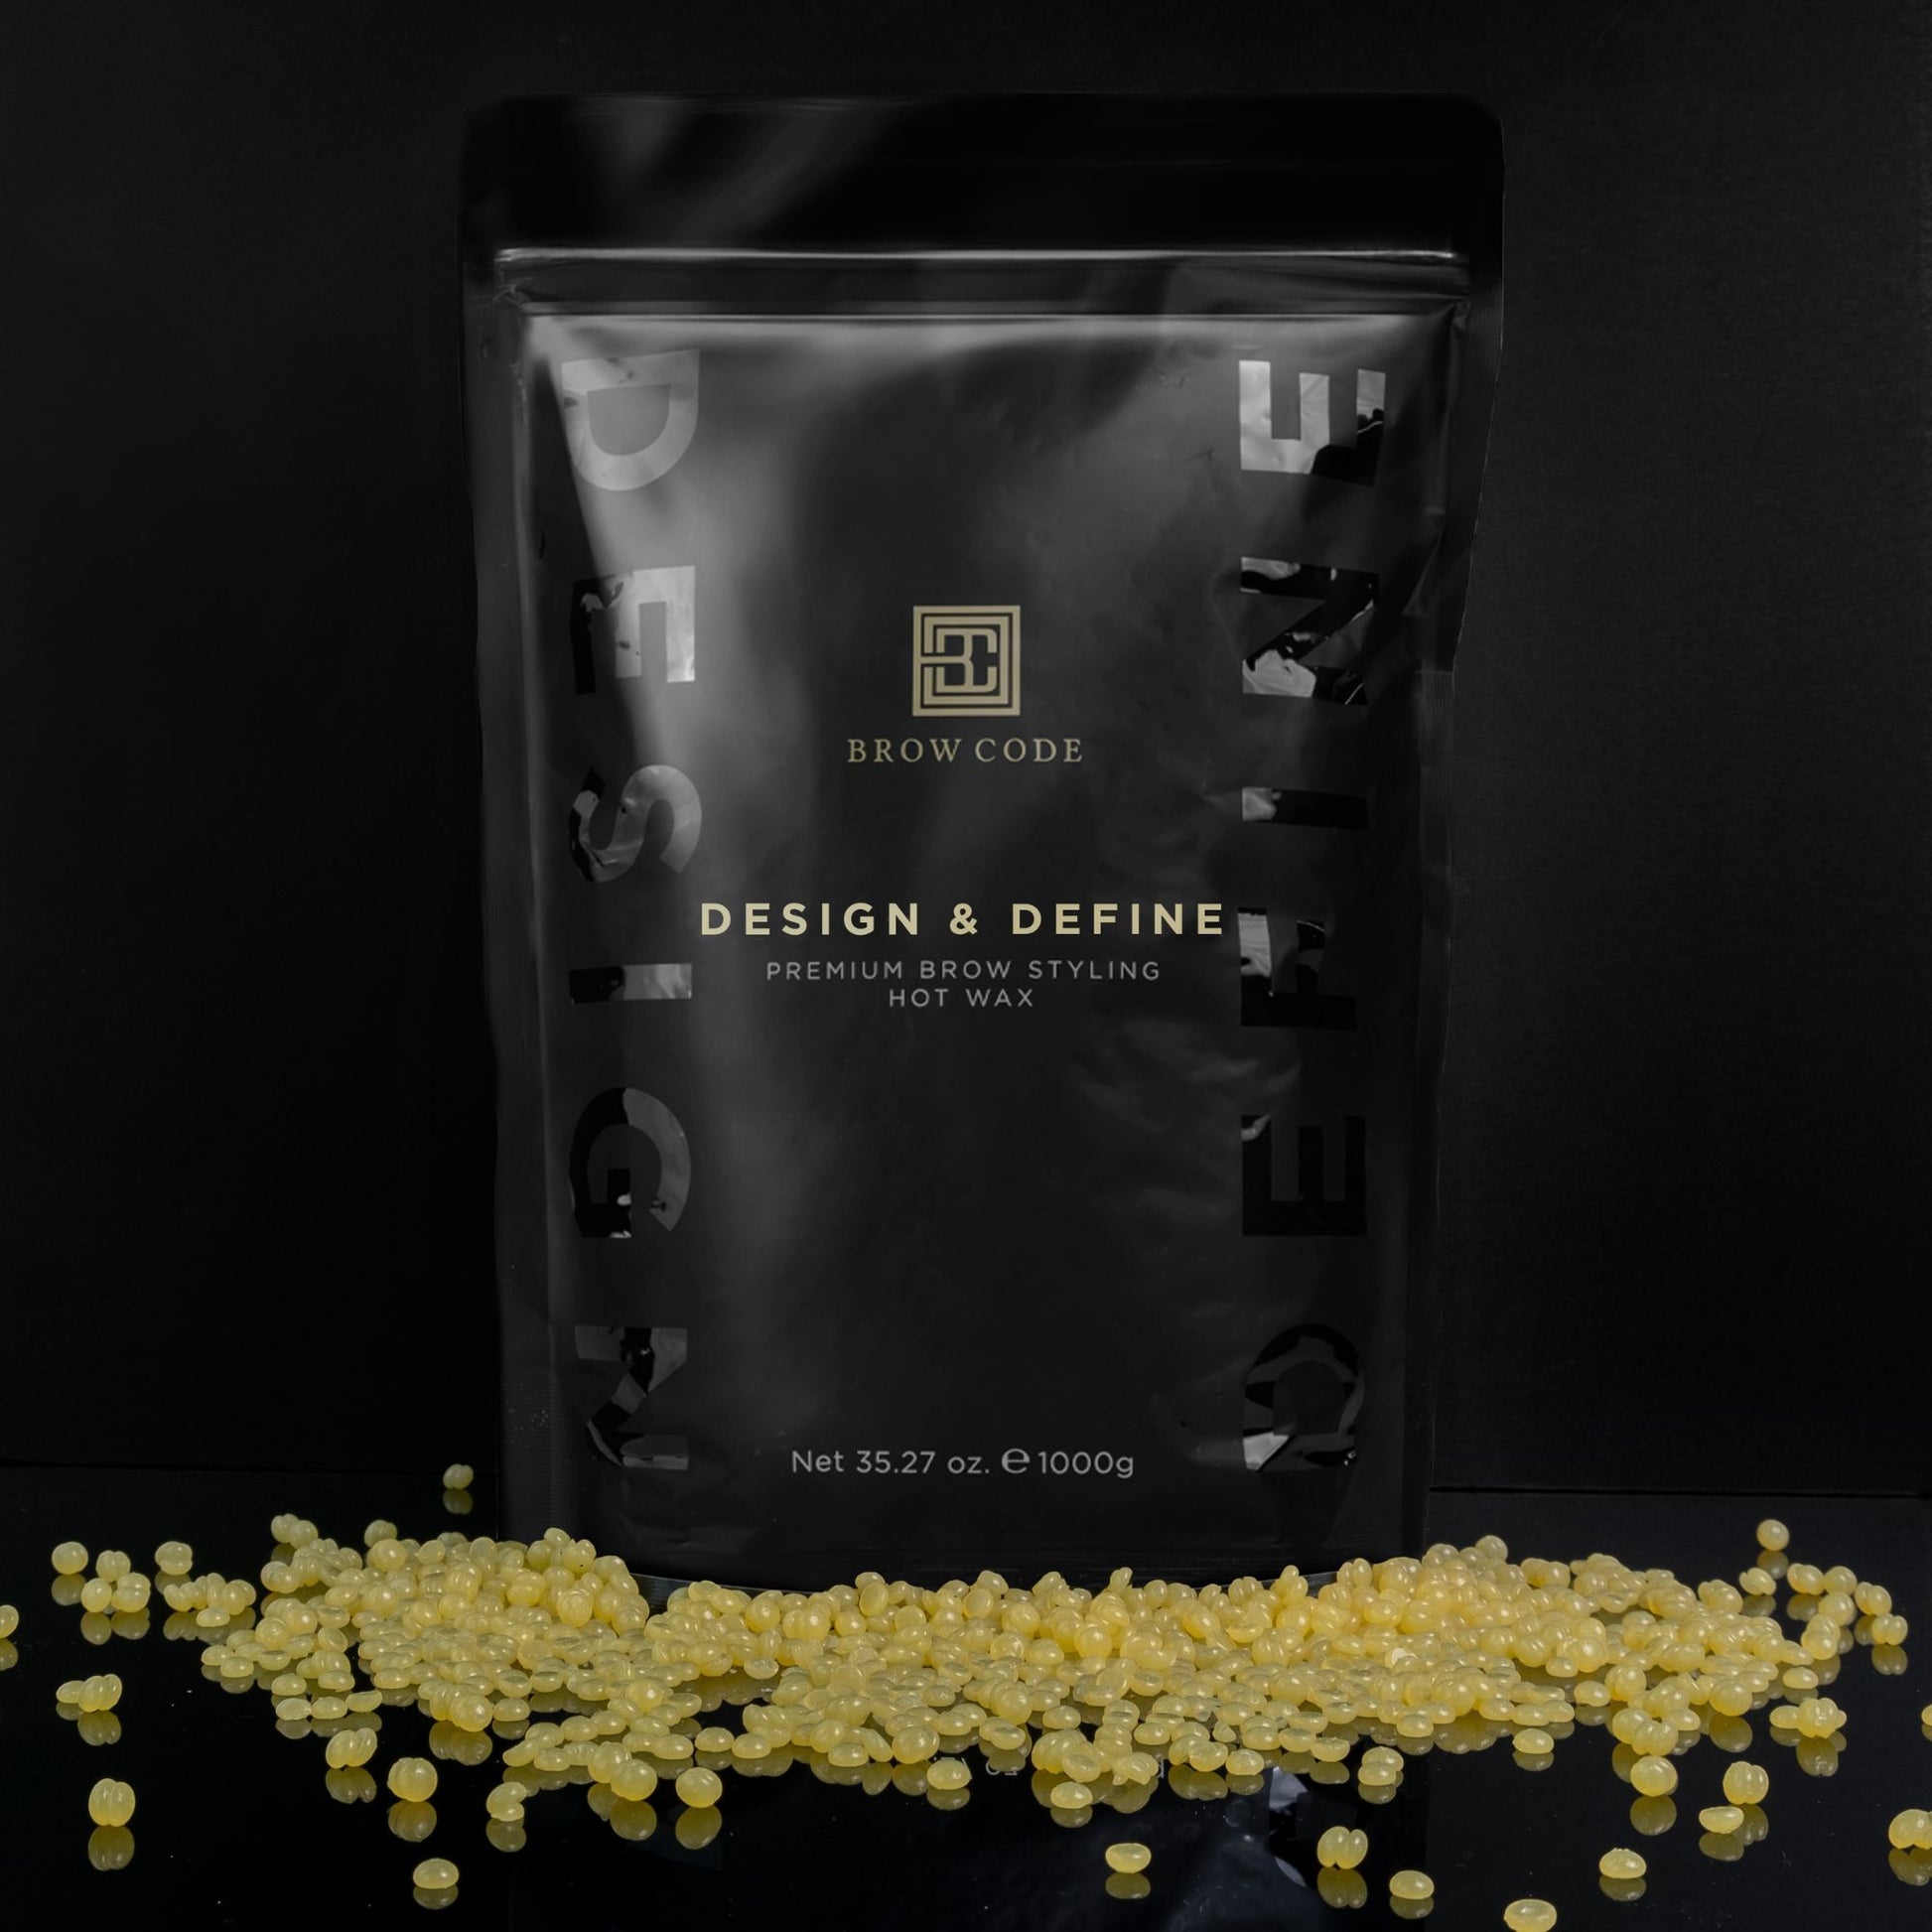
Design & Define Hot Wax
For sculpting and shaping your client’s brows
Rated 5.0 out of 5 stars206 Reviews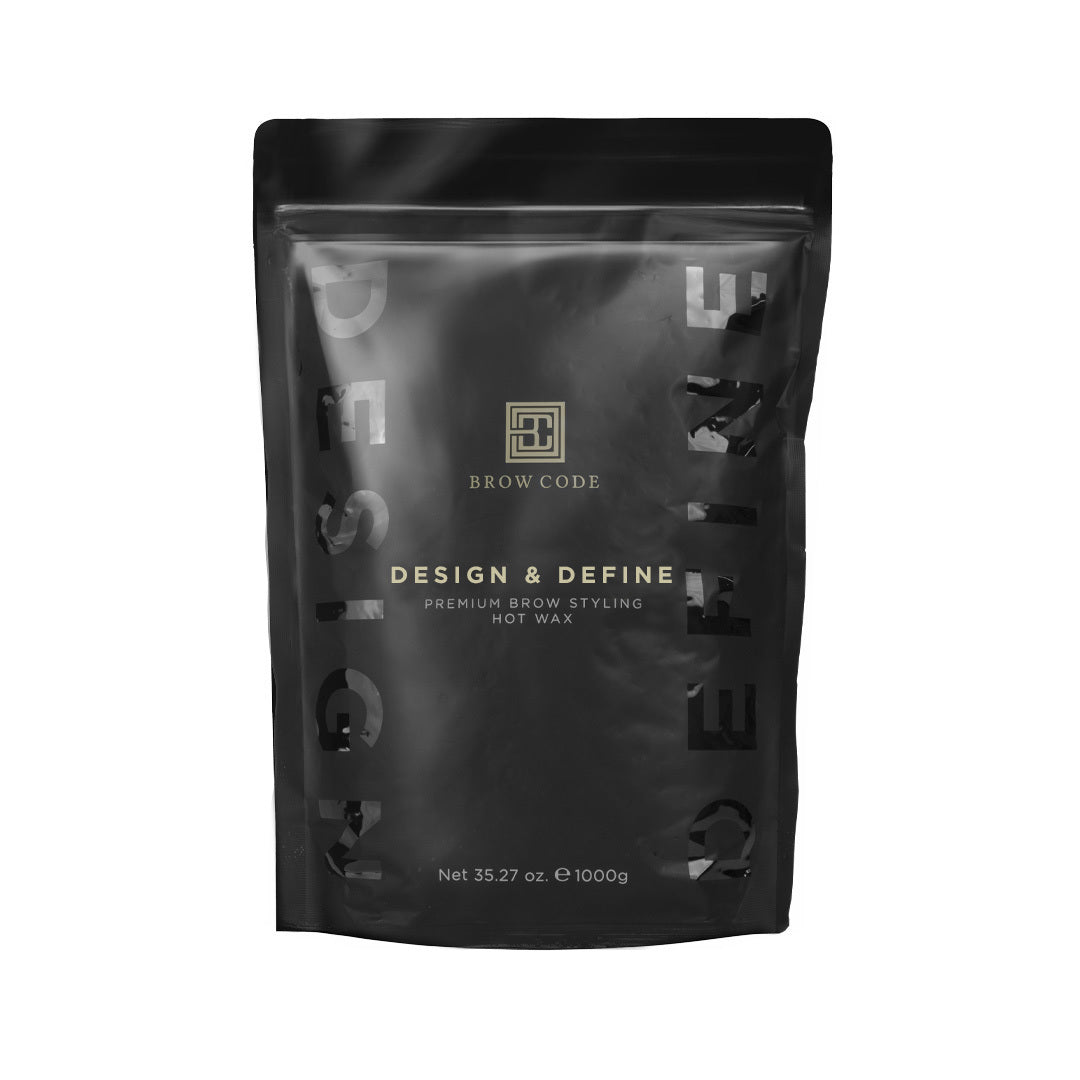
-
Butter Bond Advanced Strip Wax
Hypoallergenic-base strip wax for precision, comfort, and superior results.
Rated 5.0 out of 5 stars22 Reviews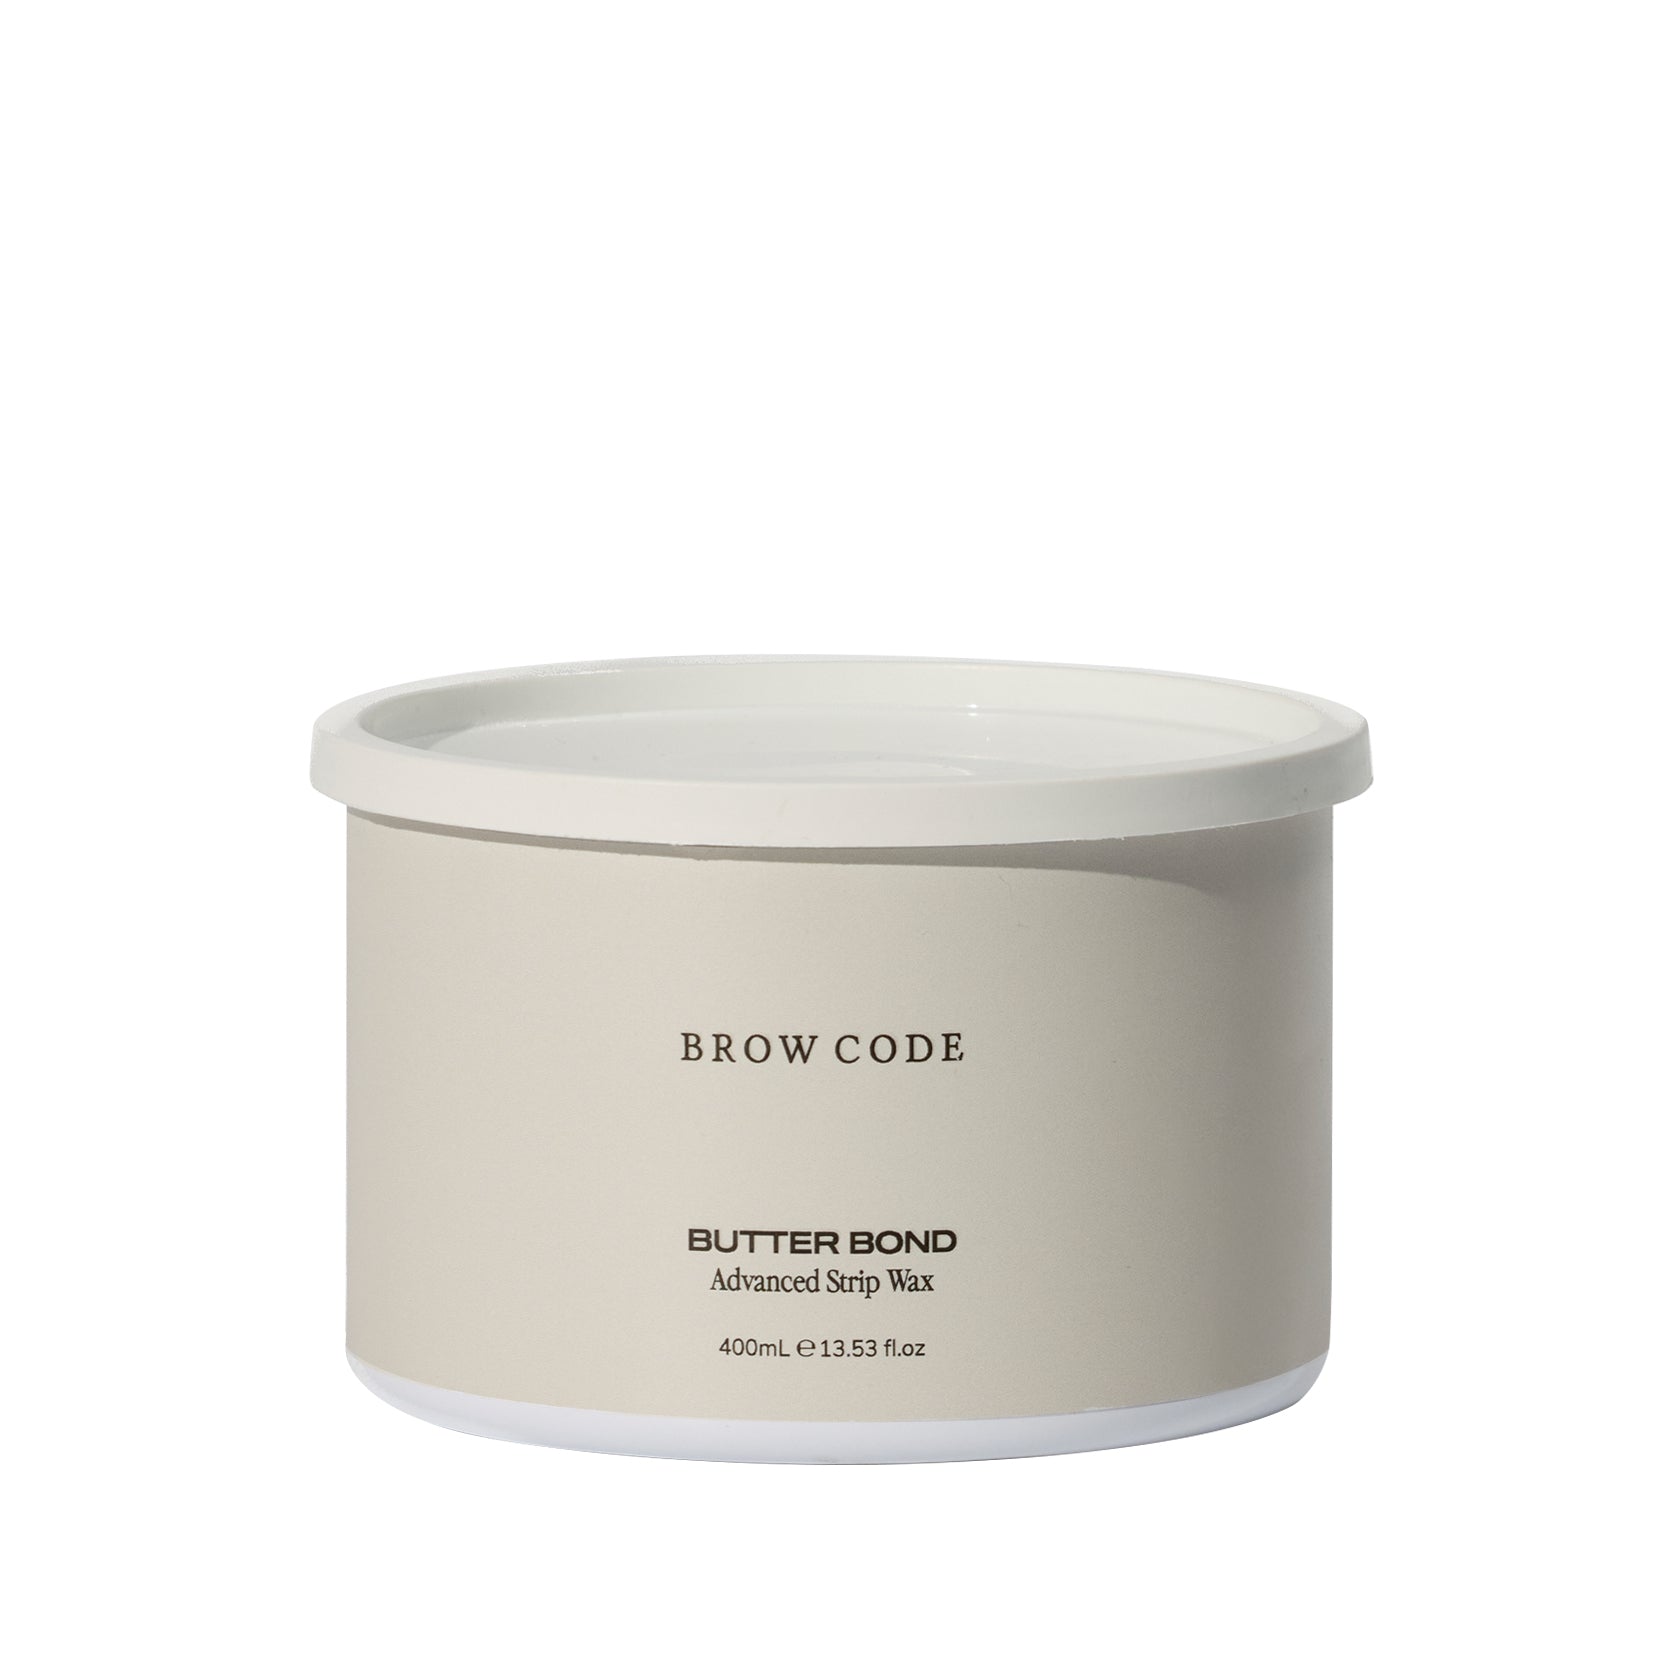

-
Professional Brow Tint Kit with Wax
For tinting and sculpting your client’s brows
Rated 4.9 out of 5 stars1,343 Reviews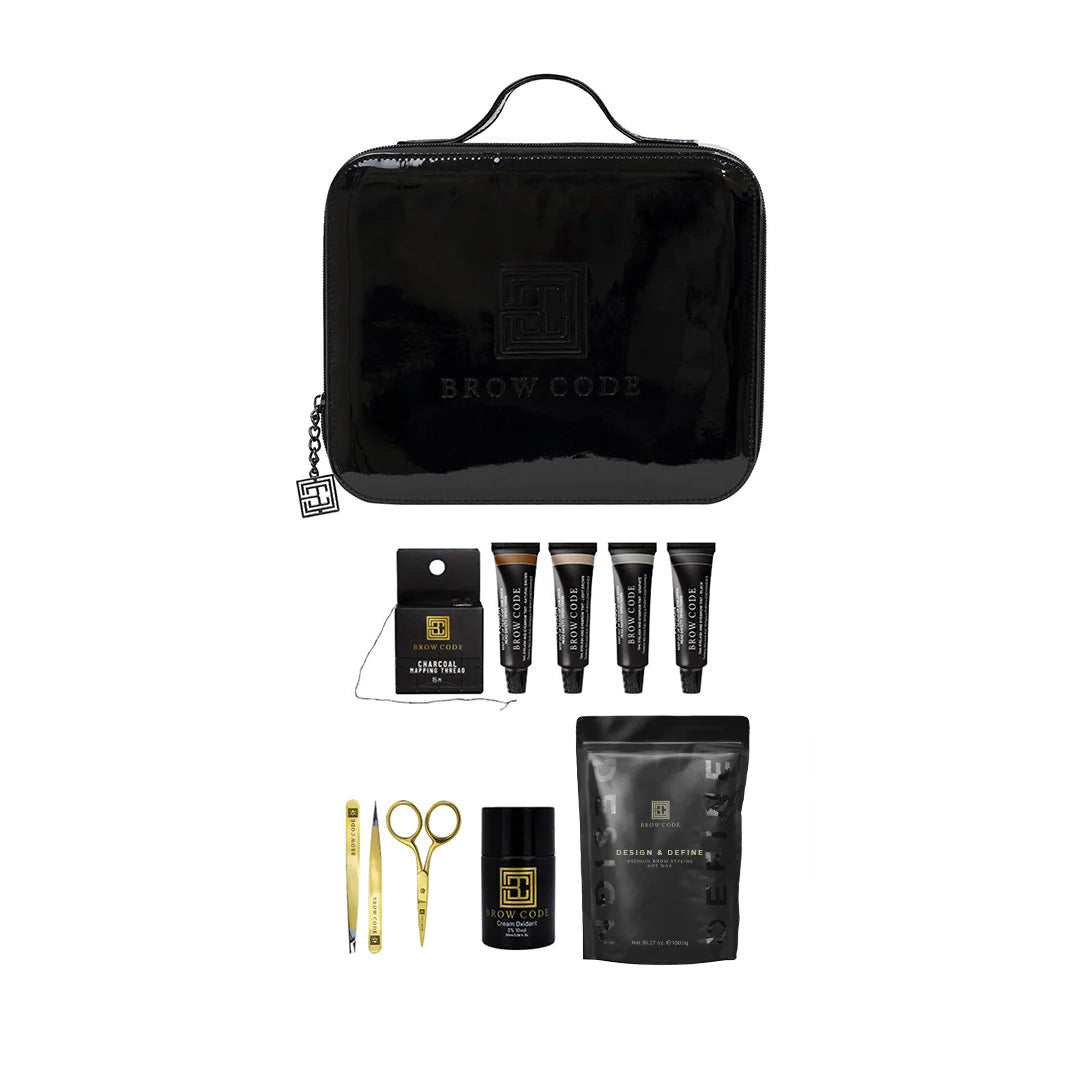
-
Brow Gold Nourishing Growth Oil 30ml
For promoting healthy, nourished, and moisturised brows
Rated 4.9 out of 5 stars446 Reviews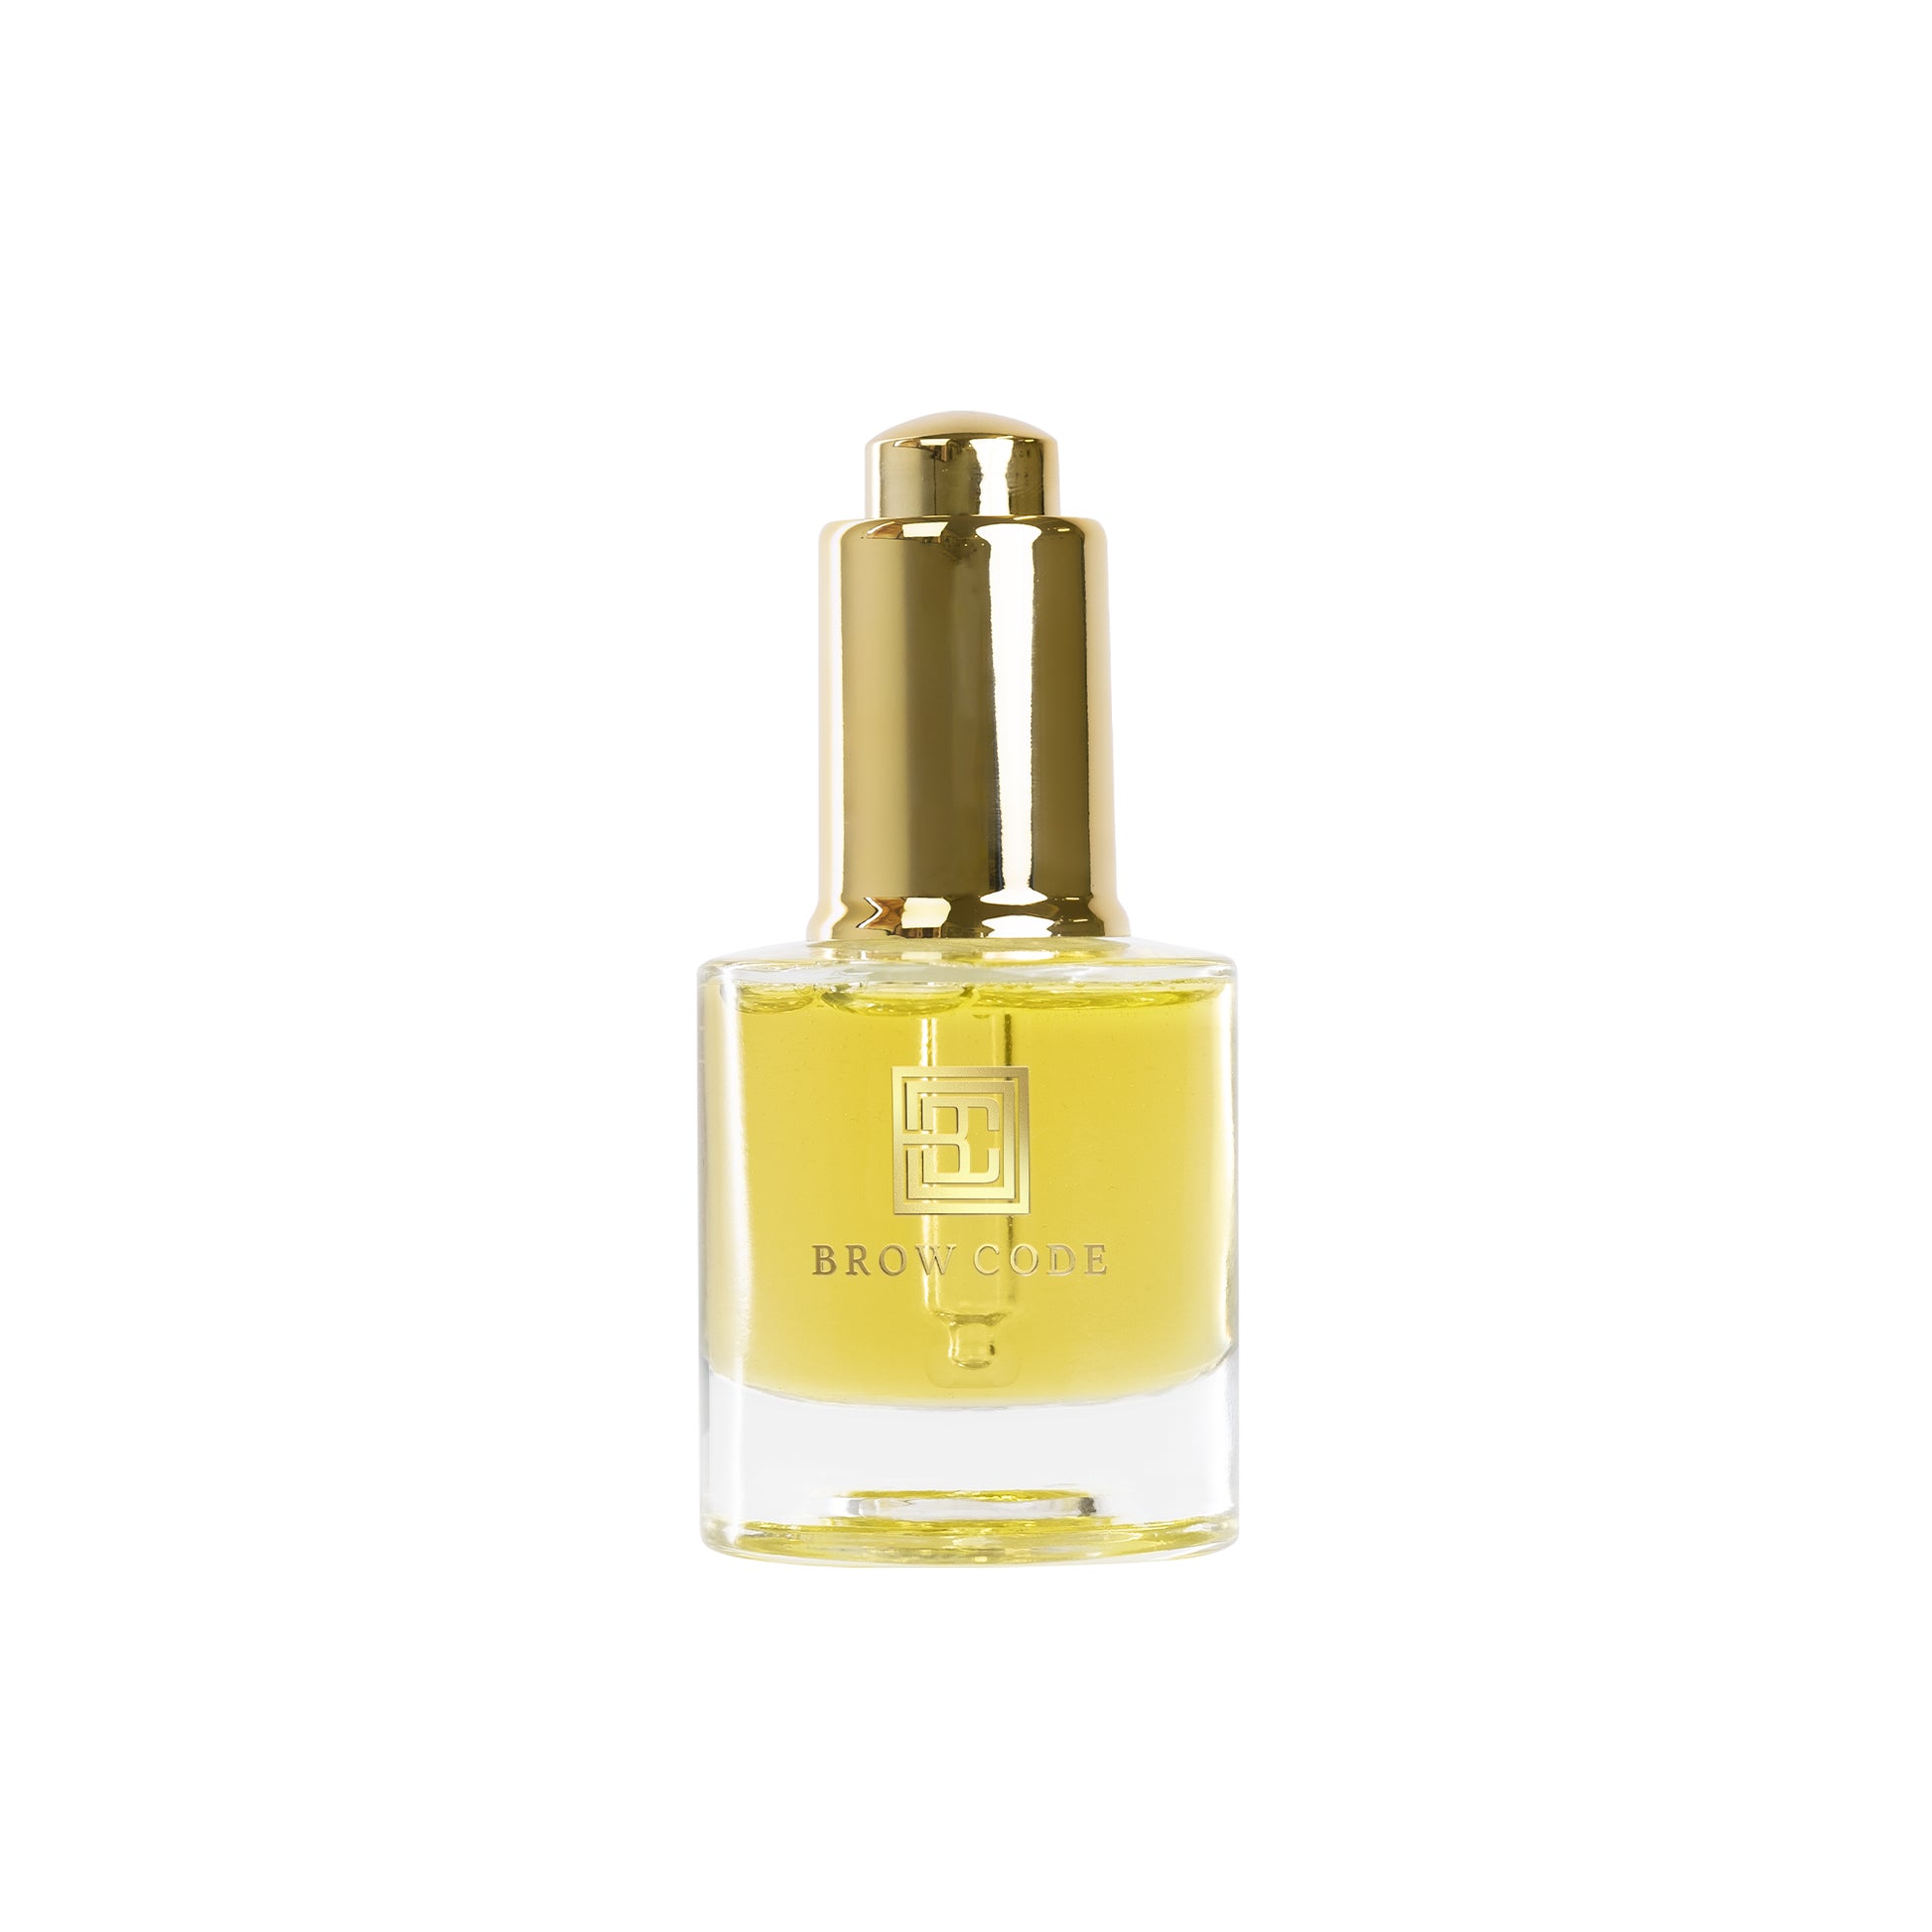


-
Brow Gold Nourishing Growth Oil 5ml
For nourishing and moisturising the brow hairs
Rated 4.9 out of 5 stars446 Reviews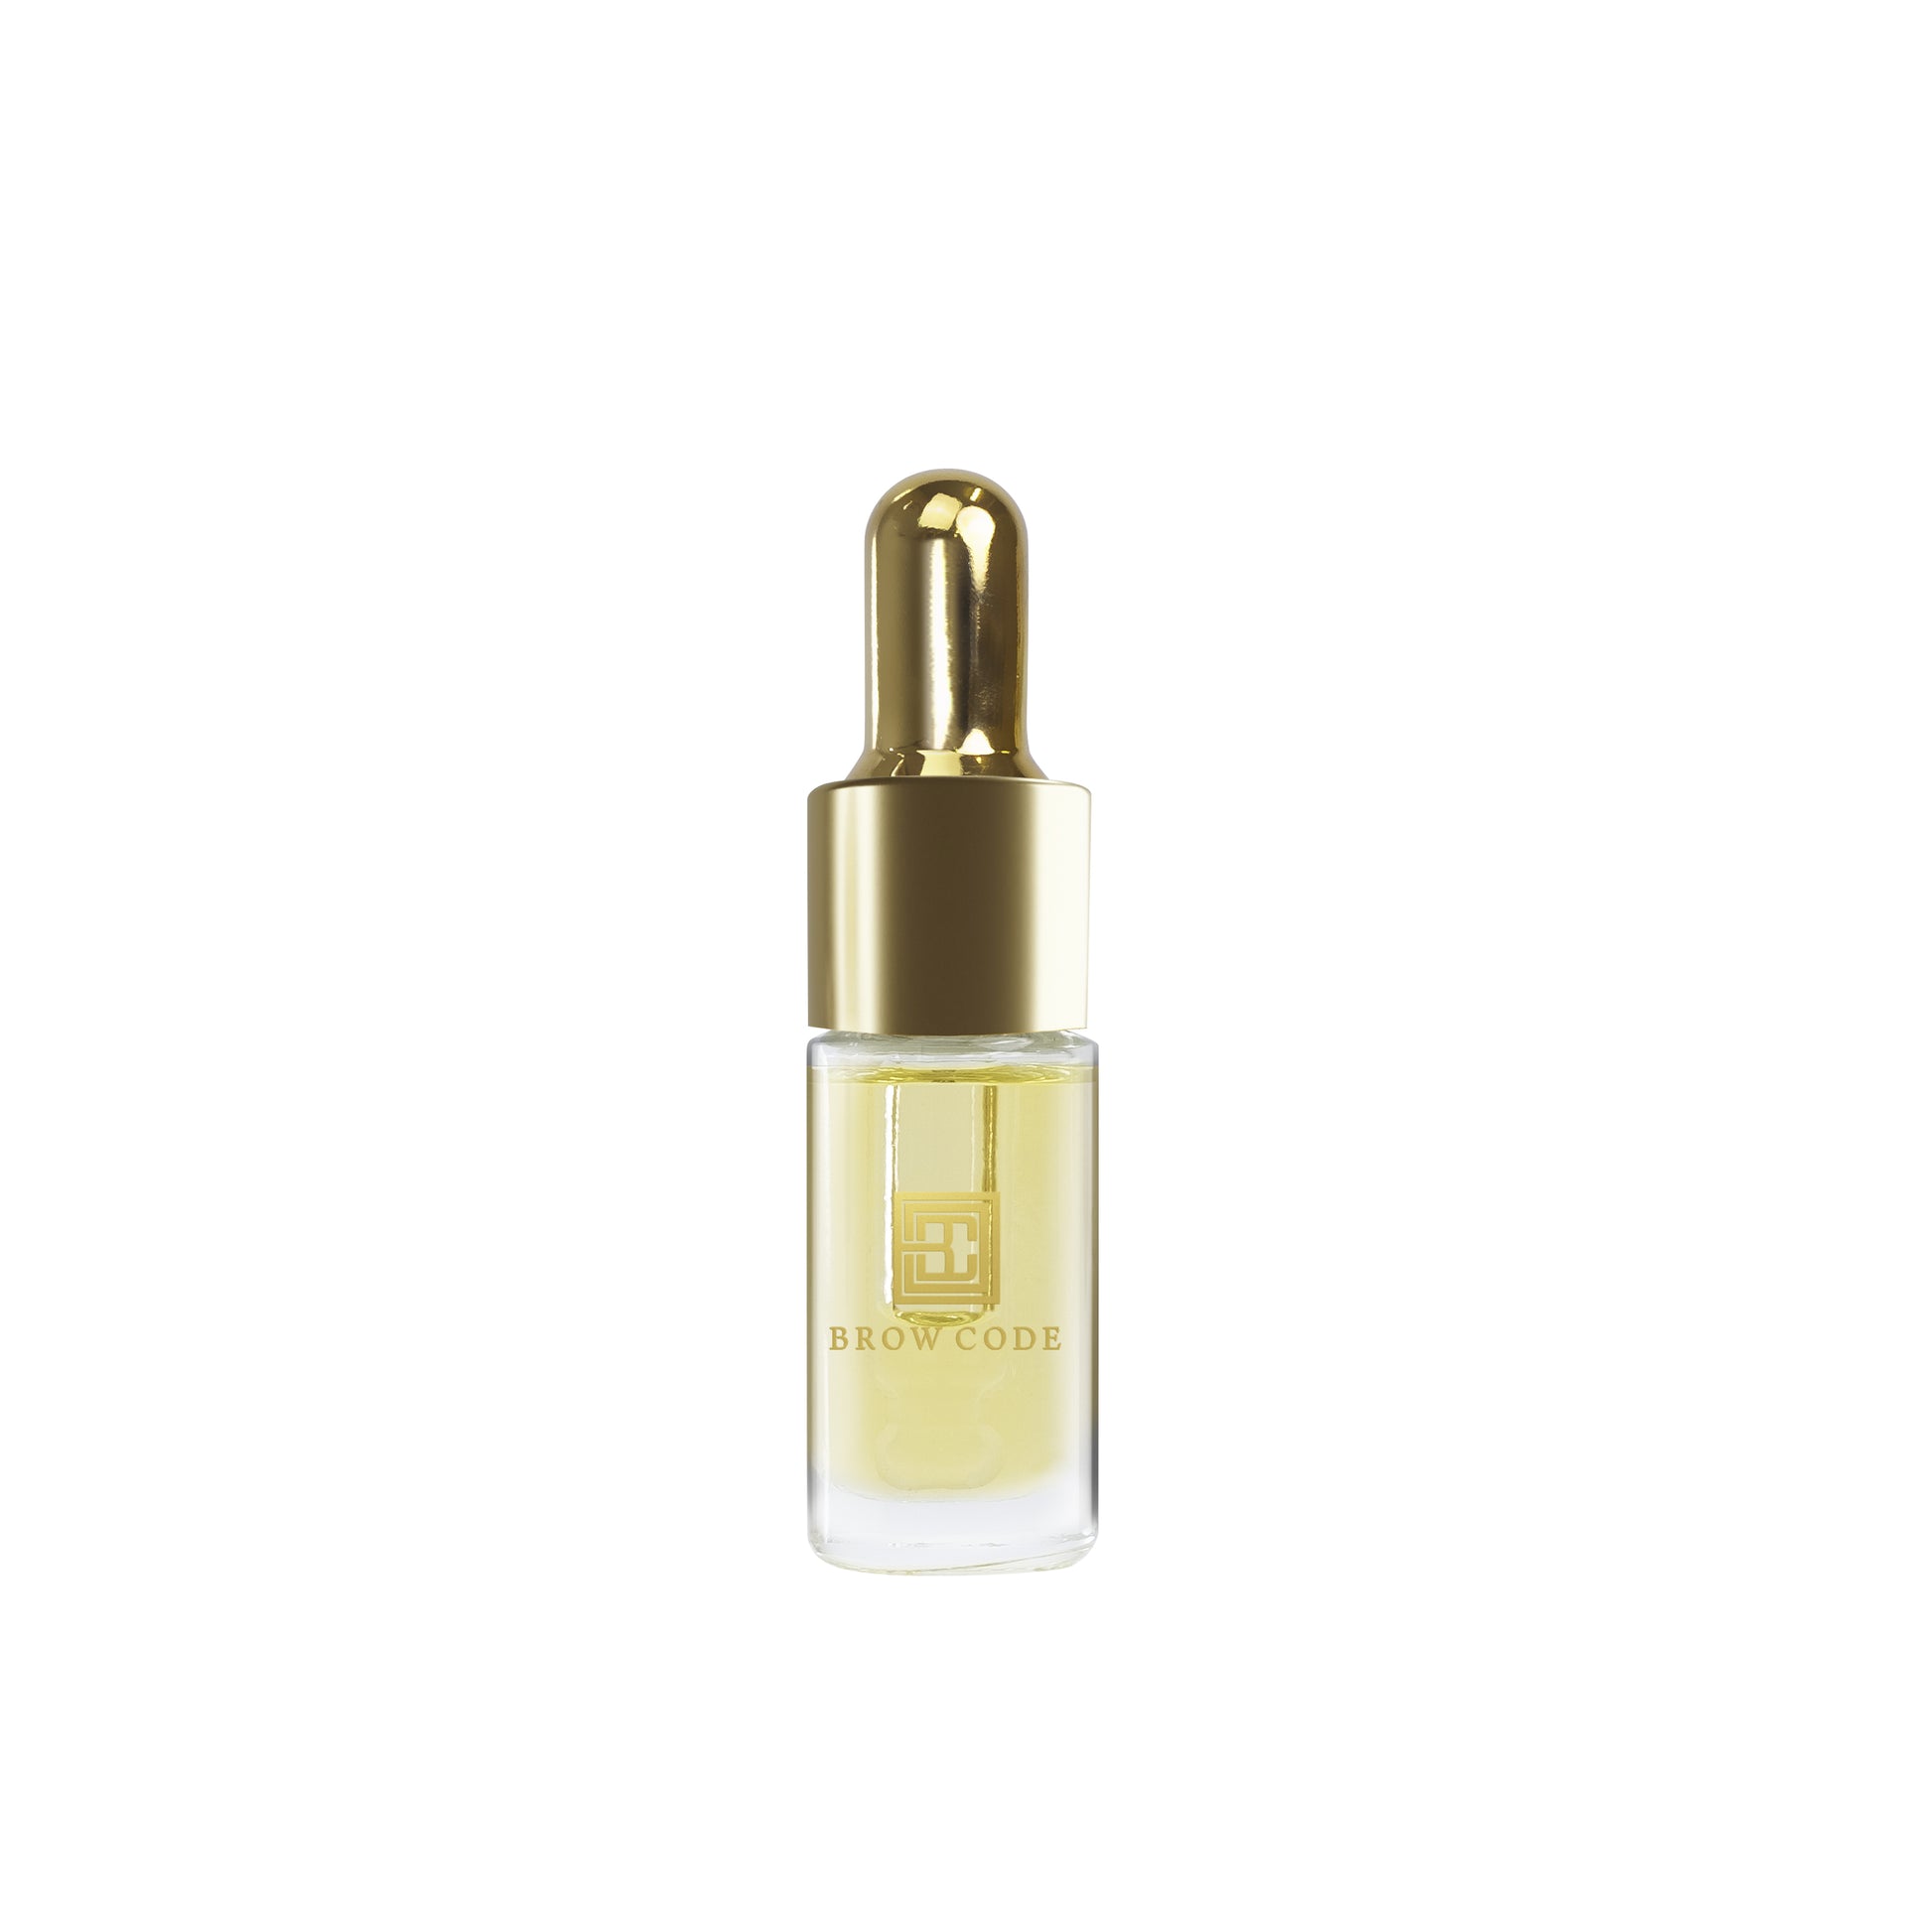
-
Alias Brow Lamination Gel
For in-salon styling and upselling post service
Rated 4.9 out of 5 stars127 Reviews


LEVEL UP YOUR SALON
-
A Complete Guide to Retailing in Your Salon
CLICK HERE -
How To Build Client Loyalty Through Product Recommendations
CLICK HERE

